Sunday 28 October 2012

Granola Bars

It is important to have things to look forward to in life. I find that more and more, these things that I look forward to are most often related to what I am going to eat. I am hoping that it is not because the rest of my life is not exciting enough... but because eating delicious food is LIKE THE BEST THING EVER. It may seem quite simple, but I actually get really excited about granola bars. Like a lot! Like small children get excited about candy, bikes, swingsets and petting zoos. Oh wait... I also get very excited about all of these things... but granola bars are right up there!

Naturally, with my profound love for the simple yet oh so satisfying granola bar, I have always wanted to try my hand at making my own. I saw a recipe for homemade granola bars from one of my favorite food blogs: Spoon Fork Bacon and knew I had to try! 
The result: delectably crunchy-chewy granola goodness that makes me even MORE excited for snack time! How can you not get excited when the words "snack time" are mentioned?!
Call me crazy, whateva. I'm the one with the granola bars.

Granola Bars
This recipe is super adaptable and you can add in or take away ingredients to make them the way you like. In this granola bar scenario, the star players are Almonds and Cranberries.
Recipe adapted from here
*NOTE* Along with making my own little changes here and there, I halved the original recipe. This made the putting-it-in-the-pan part a tad awkward, but it still worked out. I am giving the quantities for half the recipe, as this is what I have tried. But obviously you could easily double it, and fill the pan!

  • 1 1/2 cups oats
  • 1/4 cup wheat germ
  • 1 tbsp flax seeds
  • 1 1/2 tsp chia seeds (optional)
  • 1/3 cup maple syrup
  • 1/4 coconut oil, sunflower oil or olive oil
  • 1-2 tbsp honey
  • 1 tbsp brown sugar
Mix Ins! (This is the (fun) part where you can choose the star of your granola show. You can put in whatever you like or have on hand, as long as it totals to be 1 cup. Here is what I did:)
  • 1/2 cup dried cranberries
  • 1/2 cup coarsely chopped almonds


Okay! Let's make granola bars. Start by preheating your oven to 350 (325 for hot ovens) and line a rimmed baking tray device with parchment. Lightly grease the parchment so your granola does not stick.
In a bowl, combine the oats, wheat germ, flax and chia seeds if using.
In a small saucepan, stir to combine the syrup, oil, honey and brown sugar over medium low heat, just until everything comes together and the sugar dissolves. Add a small pinch of salt.
To the bowl with the oats, add the syrup along with your mix-ins.
Stir!
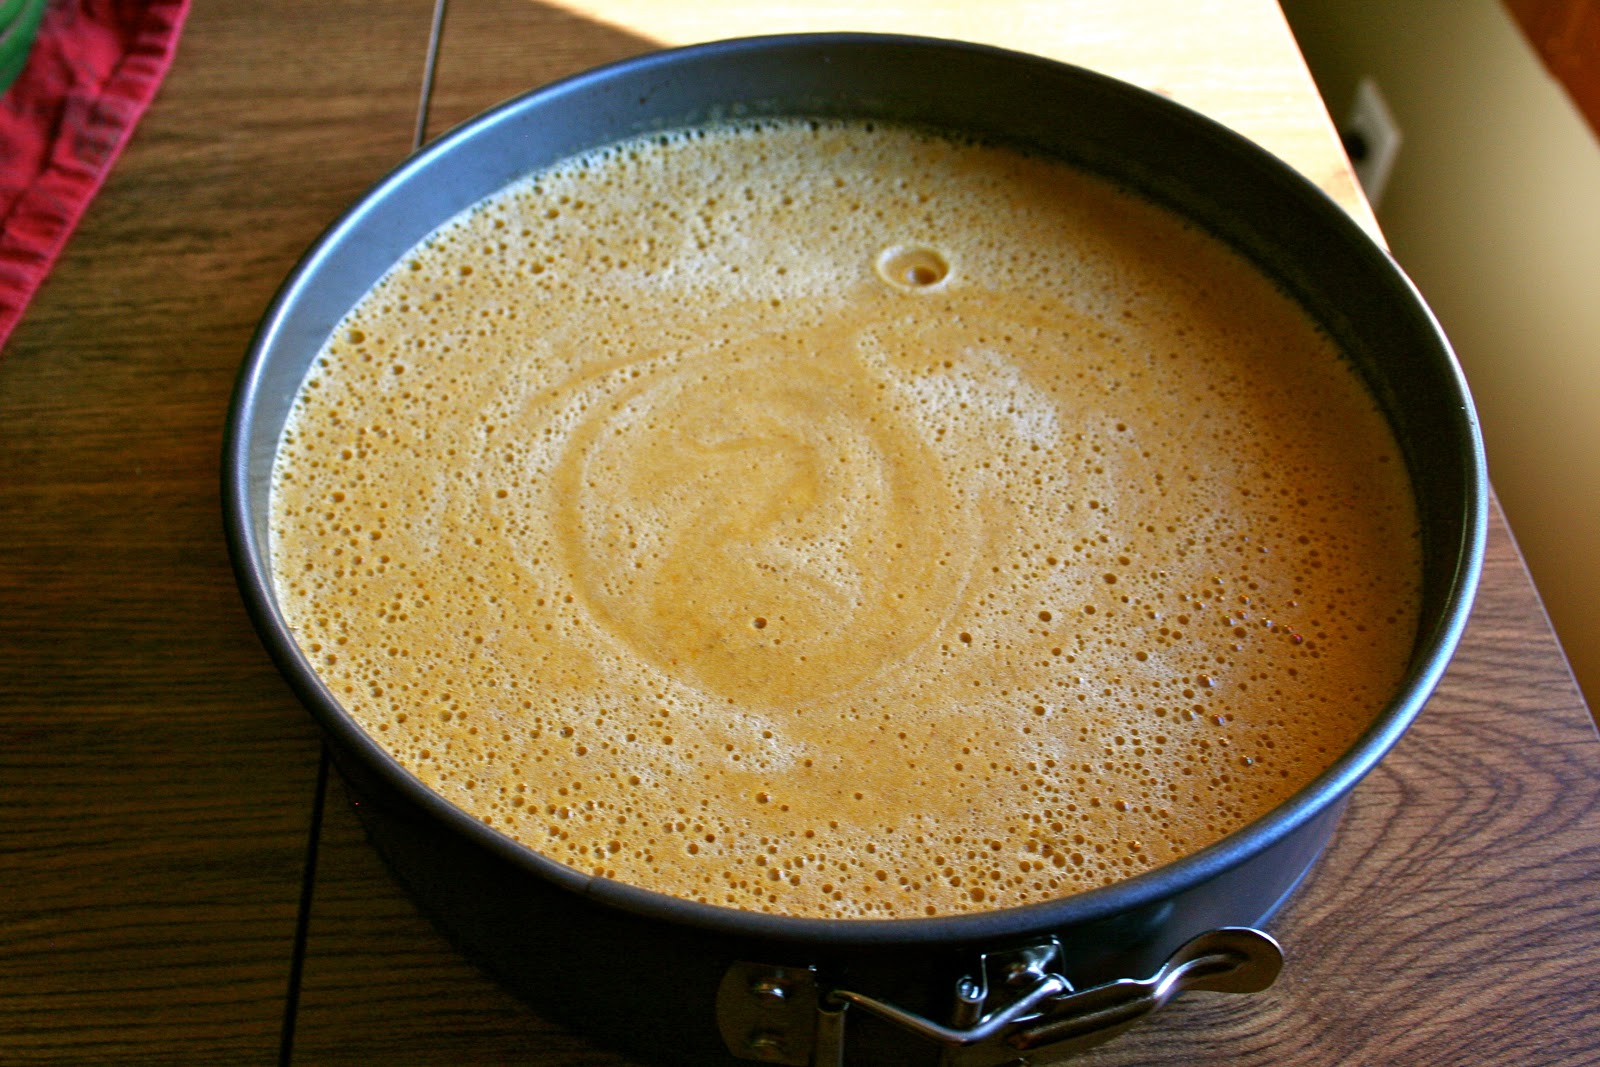
Pour out your mixture into your prepared pan, spreading it out to your desired thickness. 
Because I was making a small batch, my granola did not spread to all the edges of the pan. This is okay, just firmly pack the granola together in the best bar shape you can make :)
Pop it in the oven and bake for 30-40 minutes, or until it is toasty golden brown on the top.
Let the granola bars cool before you cut into them, as they need time to set. Once cooled, cut into bars and enjoy!

PS a crumbled up granola bar on top of fresh fruit and yogurt is an excellent, excellent idea.

<3 Lari

Sunday 21 October 2012

Pumpkin Mousse Tart

YEAH THANKSGIVING!
I am thankful for the fact that I get to make desserts.
I was extra thankful this year, because I not only got to have one thanksgiving dinner... but TWO! which also meant I got to make not one dessert... but TWO!
So much to be thankful for.
I shall post the other recipe in the near future, but for now I have a spiffed up variation on the classic dessert of pumpkin pie. Don't get me wrong, pumpkin pie is the cat's pajamas but I am always looking for unique and creative spins on the classics. So for my family dinner this year, I made a Pumpkin Mousse Tart!


This is it before it get suited up with whipped cream... looking very surface-of-strange-planet like. Hence, we cover it with whipped cream. But that is not the only reason... Thanksgiving without whipped cream is like the Mac without the Cheese.

Some notes: The crust is a chocolate spice graham cracker crust and is entirely addictive, and you may find yourself going back for seconds just because you want more crust. This was proven by my cousin and I.
This is a great dessert choice for a big family meal because the mousse part needs to chill for at least 4 hours. This way you can make it way ahead of time! Less stress.
Pumpkin Mousse Tart
Recipe from good old Martha

Chocolate Spice Graham Craker Crust:
  • 9 ounces graham crackers
  • 1/3 cup plus 2 tbsp granulated sugar
  • 3 tbsp cocoa powder
  • 1/4 tsp ground cinnamon
  • 1/8 tsp ground nutmeg
  • 3/4 cup melted butter
Place everything except the butter in a food processor and pulse until everything is finely ground. Stir the crumb mixture in a bowl with the melted butter until combined. Press into a 9" spring-form pan. (If I had a tart pan with a removable bottom, I would have used that instead! So feel free to do so if you do. And if you are wondering what to get me for my birthday coming up... well now you know.) Bake at 325 until set, 12-15 minutes. Let cool completely, do not remove from pan.

Now, time to prepare the Pumpkin Mousse!
You'll need:

  • 1/4 cup brandy
  • 2 tbsp unflavoured powdered gelatin
  • 2 tbsp water
  • 3 eggs (preferably room temperature)
  • 3/4 cup sugar
  • 1/4 cup water
  • 1 1/2 cups pumpkin puree (canned or homemade)
  • 1/4 tsp ground allspice
  • 1/4 tsp ground ginger
  • 1/2 tsp salt
  • 1/4 cup sour cream
In a small microwaveable bowl, pour in the brandy and 2 tbsp water, sprinkle over the gelatin and let stand for ten minutes or so to soften.
In the bowl of an electric mixer fitted with the whisk attachment, whisk the eggs on medium-low speed until nice and fluffy, 2 minutes or so. Meanwhile, keeping your mixer going, combine the sugar with 1/4 cup water and cook stirring occasionally over medium high heat until it reaches 245F. (Use a candy thermometer). Turn your mixer to high speed and immediately  (but carefully!) pour in the hot syrup down the side of the bowl in a thin, steady stream. (This is to avoid splashing, and also to incorporate the hot syrup with the eggs without cooking them too fast.) Continue to beat on high speed for about 5 minutes until the mixture increases in volume and turns a pale yellow colour. Meanwhile, put the bowl with the gelatin in the microwave and heat for 10-15 seconds until gelatin is dissolved and melted.
Turn mixer to low and add gelatin mixture. Add the pumpkin puree, spices salt and sour cream and stir to combine.
Pour the mousse mixture into your cooled crust, and leave it to set in the fridge for at least 4 hours, or even up to overnight. 

Finishing Touches!
  • 1 1/2 cups heavy cream
  • 2 tbsp powdered sugar
  • 1/2 tsp vanilla
  • 1/2 tsp skim milk powder (optional, but it's there to keep your whipped cream peaks perfect for hours... works like a charm!)
Whisk together all ingredients until you get stiff peaks. Transfer whipped cream to a piping bag fitted with a large star tip. Run a knife or a offset spatula around the outside of your tart to release it from the spring-form pan, remove the sides of the pan and set your tart on a pretty platter or stand. Get fancy and pipe the cream however you like to cover the top of the tart. I piped little dollops all over, starting in the center and spiraling outwards, but get creative and do what you wish!

An awesome end to an awesome meal.
I <3 Thanksgiving.

XO Lari


Monday 8 October 2012

Black Bean and Corn Quinoa

A few weeks ago I had the house to myself.
Dining Solo.
Do not think of it as a lonely thing...
More like: I get to cook WHATEVA I WANT!
I went with a Mexican fiesta of quinoa.
It was a good decision.
As noted from this previous post, I am currently borrowing my Aunt's Quinoa cook book, and this was the first recipe I tried from it! Unfortunately I was out of some ingredients like avocado and cilantro which would have made this even better. But even with just the beans, corn and tomatoes it was quite the delish dish.
So yes, I was cilantro-less... but when I was taking photos, the dish was lacking that pretty green finishing touch! So I put on parsley... I KNOW, how un-mexican of me :( but it just looks better this way. After all this, my dinner was a little cooler than usually preferred, but hey now I know this tastes good cold too. Ah, the life of a food blogger I suppose, hehehe

Black Bean and Corn Quinoa
Recipe adapted from this book.
Notes: I was eating this by myself... so if you are making this for a meal for more than just you, perhaps doubling it would be best!

  • 1 cup water
  • 1/2 cup quinoa, rinsed and drained
  • 1/4 cup salsa
  • 1/8 tsp chili powder
  • 1/8 tsp ground coriander
  • 1/8 tsp ground cumin
  • 1/2 cup diced tomato
  • 1/2 cup canned black beans, rinsed and drained
  • 1/4 cup cooked corn kernels (I used canned)
  • 1/4 cup greek yogurt
  • 1/2 tsp fresh lime juice
  • grated cheddar cheese for topping
  1. Bring the water and quinoa to a boil in a small saucepan. Cover, reduce to a simmer and let cook for about 10 minutes. Turn off the heat, keep the covered saucepan on the burner for 5-6 more minutes. Fluff quinoa with a fork
  2. In a medium bowl, stir to combine the salsa, chili powder, coriander, cumin, tomato, beans and corn.
  3. In a small bowl combine the greek yogurt and lime juice. Set aside.
  4. Stir the cooked quinoa in with the salsa-tomato-bean-corn situation.
  5. Serving time! In your desired eating dish, place some of the quinoa mix and top with the lime-yogurt and some grated cheese. Garnish with cilantro if you have some!
Fun note! This quinoa mixture is awesome for making new dishes with the leftovers. Add some lettuce and turn it into a lovely salad. Throw it into a tortilla with cheese for a Southwestern-Quinoa-Quesadilla. Or one of my favies: heat up a corn tortilla, top with quinoa mix, a fried egg, and grated cheese. YUM.
So many delish dishes.

Happy Quinoa-ing
<3 Lari


Saturday 6 October 2012

Zucchini Orange Muffins with Chocolate Chips


My mom is the queen of muffins. She has her go-to recipes for muffins and loaves that she has been baking ever since I can remember. Muffins are her thing! Whenever I bake muffins I think fondly of Ma.

She also has a thing for zucchini loaf.

SO... one morning I was carrying through with my usually routine of watching Food Network whilst eating breakfast (yes I do get up earlier than necessary just so I can do this), I saw Anna Olson bake up a zucchini orange loaf. I see a lot of stuff that looks good on that show but when I saw this I KNEW I had to make it! My mother would be returning from a vacation soon and some zucchini baking would be the perfect welcome home treat.

Although, because muffins are such her thing, I often am reluctant to try a new banana bread, or zucchini loaf recipe... because around these parts her recipe is known as THE BEST. (At least in my opinion.)
But life is about taking risks or something like that so I gambled big time and made these! I like living on the edge. This recipe was different enough from her classic zucchini loaf however that I felt like I wasn't trying to fix something that was already perfect.


Also, I got to use zucchini that was fresh from our garden! Which just makes me giddy.
Zucchini Orange Muffins with Chocolate Chips
Original recipe from Anna Olson
Notes: The original recipe is for making a loaf... but I just love all things tiny and cute so I made individual muffins. You can easily turn muffin recipes into loaves and vice versa. Just be sure to change the cooking time accordingly! Muffins can take anywhere from 20-35 minutes to bake, while a large loaf can take up to an hour.

  • 1/2 cup vegetable oil
  • 2 eggs
  • 1 cup sugar
  • 2 tsp finely grated orange zest
  • 1 tsp vanilla
  • 1 1/2 cups flour
  • 1 tsp baking powder
  • 1/4 tsp salt
  • 1 1/2 cups loosely packed, coarsely grated zucchini
  • 1/2 cup chocolate chips (if you so desire, you can omit these, or replace with something else such as dried fruit or toasted nuts)
  1. In a large bowl, whisk to combine the oil, eggs, sugar, zest and vanilla
  2. In a separate bowl, sift together the flour, baking powder and salt. Stir the zucchini in with the flour mixture, using your hands to coat the zucchini strands with flour so that they don't clump together.
  3. Combine the dry with the wet ingredients and stir until just combined. Stir in the chocolate chips.
  4. Divide the batter into paper lined muffin tins, filling them about 2/3 full. Bake in a 350 (325 for hot ovens) oven, and check to see if they are done at 20 minutes. Mine took 20 minutes, but oven temperatures and times will vary. A toothpick inserted in the centre of a muffin that comes out clean will tell you your muffins are ready!
  5. Let cool a bit... then stuff your face.
Ps in case you were concerned, my mother absolutely loved these. A lot. Risks are worth taking.

Happy Baking with Zucchini this fall!
<3 Lari

Wednesday 3 October 2012

Applesuace Oatmeal Cookies with Maple Glaze

A little while ago I made a sort of "to-do" list of things I wanted to bake. GUESS WHAT I actually made one of them! (actually, so far I have made 3! Life is great. Here is the first)

I made Martha's Applesauce Oatmeal Cookies... and I only have the iPhone photo to prove it. This is usually the case when something is absolutely too delicious and gets gobbled up before I have time to set up a proper shot. I ain't complaining though, these babies are WORTH IT.


When I first saw this recipe I was intrigued by how Autumny it sounded (my new word). I knew they would be a perfect cookie for the fall season.

Fun Fact! Putting applesauce in cookies is no new trick, people often use it to replace some of the butter for a healthier cookie. This was the first time I have used applesauce in cookies, and I loved it! It makes your cookies super moist as well. Even though these cookies have no chocolate whatsoever in them, I found them to be amazingly delish. A definite addition to my cookie repertoire :)

Applesauce Oatmeal Cookies with Maple Glaze
Recipe adapted from Martha

*Notes* When I made these, I only glazed half of my cookies, as my mother says she prefers them un-glazed. They are certainly healthier this way... and totally acceptable for breakfast :)
I also added a lot more icing sugar to the glaze because it was too liquid at first. I noticed this worked well for a day or two but after that, the glaze became very firm... so perhaps a medium amount of icing sugar would be best next time.

To make the cookies you will need:
  • 1/4 cup melted butter
  • 1 cup brown sugar
  • 1/2 cup granulated sugar
  • 1 egg
  • 1/2 cup applesauce
  • 1 1/2 cups rolled oats
  • 1 1/2 cups flour
  • 1/2 tsp baking soda
  • 1/4 tsp baking powder
  • 1/4 tsp salt
  1. Mix the melted butter and both sugars in an electric mixer until combined. Add the egg and applesauce and mix until blended. Stir in the remaining ingredients.
  2. Use spoons to drop cookie dough onto parchment or silpat lined baking sheets. The cookies do spread in the oven, so keep that in mind.
  3. Bake in a 350 (325 for me!) oven for 13 ish minutes until cookies are set and slightly golden. Let cool for about 5 minutes on the sheet, then completely on wire racks
Maple Glaze: Warning... recipe may need to be adjusted! Depending on the climate, and your glazey-preferences. Don't take this all too seriously, if it's too watery, add more powdered sugar. If it is too thick, add a little milk or water. Tadaa! You're a chef now.
*Note* I halved the original glaze recipe and still ended up with lots left over

  • 1 cup powdered sugar
  • 1 1/2 tbsp maple syrup
  • 1 1/2 tbsp milk or water
  1. Whisk together sugar, syrup and milk. Drizzle over your cooled cookies and let set!
  2. INDULGE! Ideally with a glass of milk.
Happy Baking!
<3 Lari